• Thank you for visiting HeavyEquipmentForums.com! Our objective is to provide industry professionals a place to gather to exchange questions, answers and ideas. We welcome you to register using the "Register" icon at the top of the page. We'd appreciate any help you can offer in spreading the word of our new site. The more members that join, the bigger resource for all to enjoy. Thank you!

Case 1835b Occasionally no drive

KyferEz

Active Member
Joined
Jul 10, 2025
Messages
28
Location
USA South East
It was a little water but mostly oil mixed with hydraulic fluid. And the shaft on the motor has some play around the seal, enough that I can see it squeeze fluid out around the seal.

 

HarleyHappy

Senior Member
Joined
Sep 30, 2020
Messages
3,469
Location
So NH
Occupation
Welder/Mechanic
If the shaft has play, more than likely the seal kit won’t work. The seal gets blown out because of the internal pressure it leaking to the nose seal.
 

KyferEz

Active Member
Joined
Jul 10, 2025
Messages
28
Location
USA South East
If the shaft has play, more than likely the seal kit won’t work. The seal gets blown out because of the internal pressure it leaking to the nose seal.
It's maybe 20tho combined in both directions, but ya I figured I'd need to ensure internal bearings are good and determine why the play. I expect some play since there's the external bearing on the cap that holds the end of the shaft, so I'm not totally convinced that amount of play is bad, yet. However I am prepared if necessary that I'm going to be buying the new motor. I'll post my findings with pics. Haven't had chance to work on pulling motor apart yet :/ maybe tonight.

I paid $9800 for this thing with smooth and toothed buckets, forks, and a custom inverted narrow trenching bucket. I wanted the attachments, but definitely overpaid due to the guy's lie. I'd have been happy if it wasn't for this; even if a hose was ruptured and leaking I'd have been happy.

As it is I'm pretty mad and he won't respond. Bad people ruin everything for everyone; I've learned my lesson in the past to never trust anyone. I just didn't know know in this case (pardon the pun) that this thing had a possibility of this sort of hidden leak; I had checked everything else :(
 

HarleyHappy

Senior Member
Joined
Sep 30, 2020
Messages
3,469
Location
So NH
Occupation
Welder/Mechanic
Other than opening up the chain case, which goes a little beyond inspection of a machine for sale, you wouldn’t have known.
The same thing was wrong with my skid and the previous owner said it had a small leak.
There are 4” plugs for access to the wheel bearings and the chain case was so full, it was leaking out of them.
Other than putting it up high on blocks, you could never get to those plugs.
 

KyferEz

Active Member
Joined
Jul 10, 2025
Messages
28
Location
USA South East
So I sorta screwed up and didn't realize it until I had the hydraulic drive motor apart. In step 6 I put the bolts too far down and pulled the entire assembly out, so couldn't make alignment marks shown in step 7. Aside from that the parts all look great.

The reassembly steps only show using your alignment marks; they don't explain how to determine proper alignment if you don't have the marks... Can someone help?
 

Attachments

  • 1835b Driver Motor Alignment.jpg
    1835b Driver Motor Alignment.jpg
    924.4 KB · Views: 10

KyferEz

Active Member
Joined
Jul 10, 2025
Messages
28
Location
USA South East
I found an after source for the seal. So ya supplier prices are an outrageous rip off. A quality output shaft seal is Part number U12-1.25-25B from aftermarket suppliers for under $8 and is good up to 5000PSI.

That was the one I was a little worried about, now the rest should be easy, will post the part numbers when I have found them - mainly cause I hate companies overcharging that much and this is my way to combat it and help others hopefully.
 
Last edited:

KyferEz

Active Member
Joined
Jul 10, 2025
Messages
28
Location
USA South East
If it's aligned incorrectly, it'll simply run backward. I'll have to dig for sequencing the timing.
Were you able to find the info? I've looked and looked and I can't figure out how the allignment matters though I'm sure it's because I don't understand something though.
 

B&B

Well-Known Member
Joined
Oct 8, 2022
Messages
98
Location
Massachusetts
Were you able to find the info? I've looked and looked and I can't figure out how the allignment matters though I'm sure it's because I don't understand something though.
I won't be around my manual for a few days but I can see if there's anything in it about that this week.
 

KyferEz

Active Member
Joined
Jul 10, 2025
Messages
28
Location
USA South East
Not sure which motor that is....but, I took a guess.
See page 10 in this PDF.
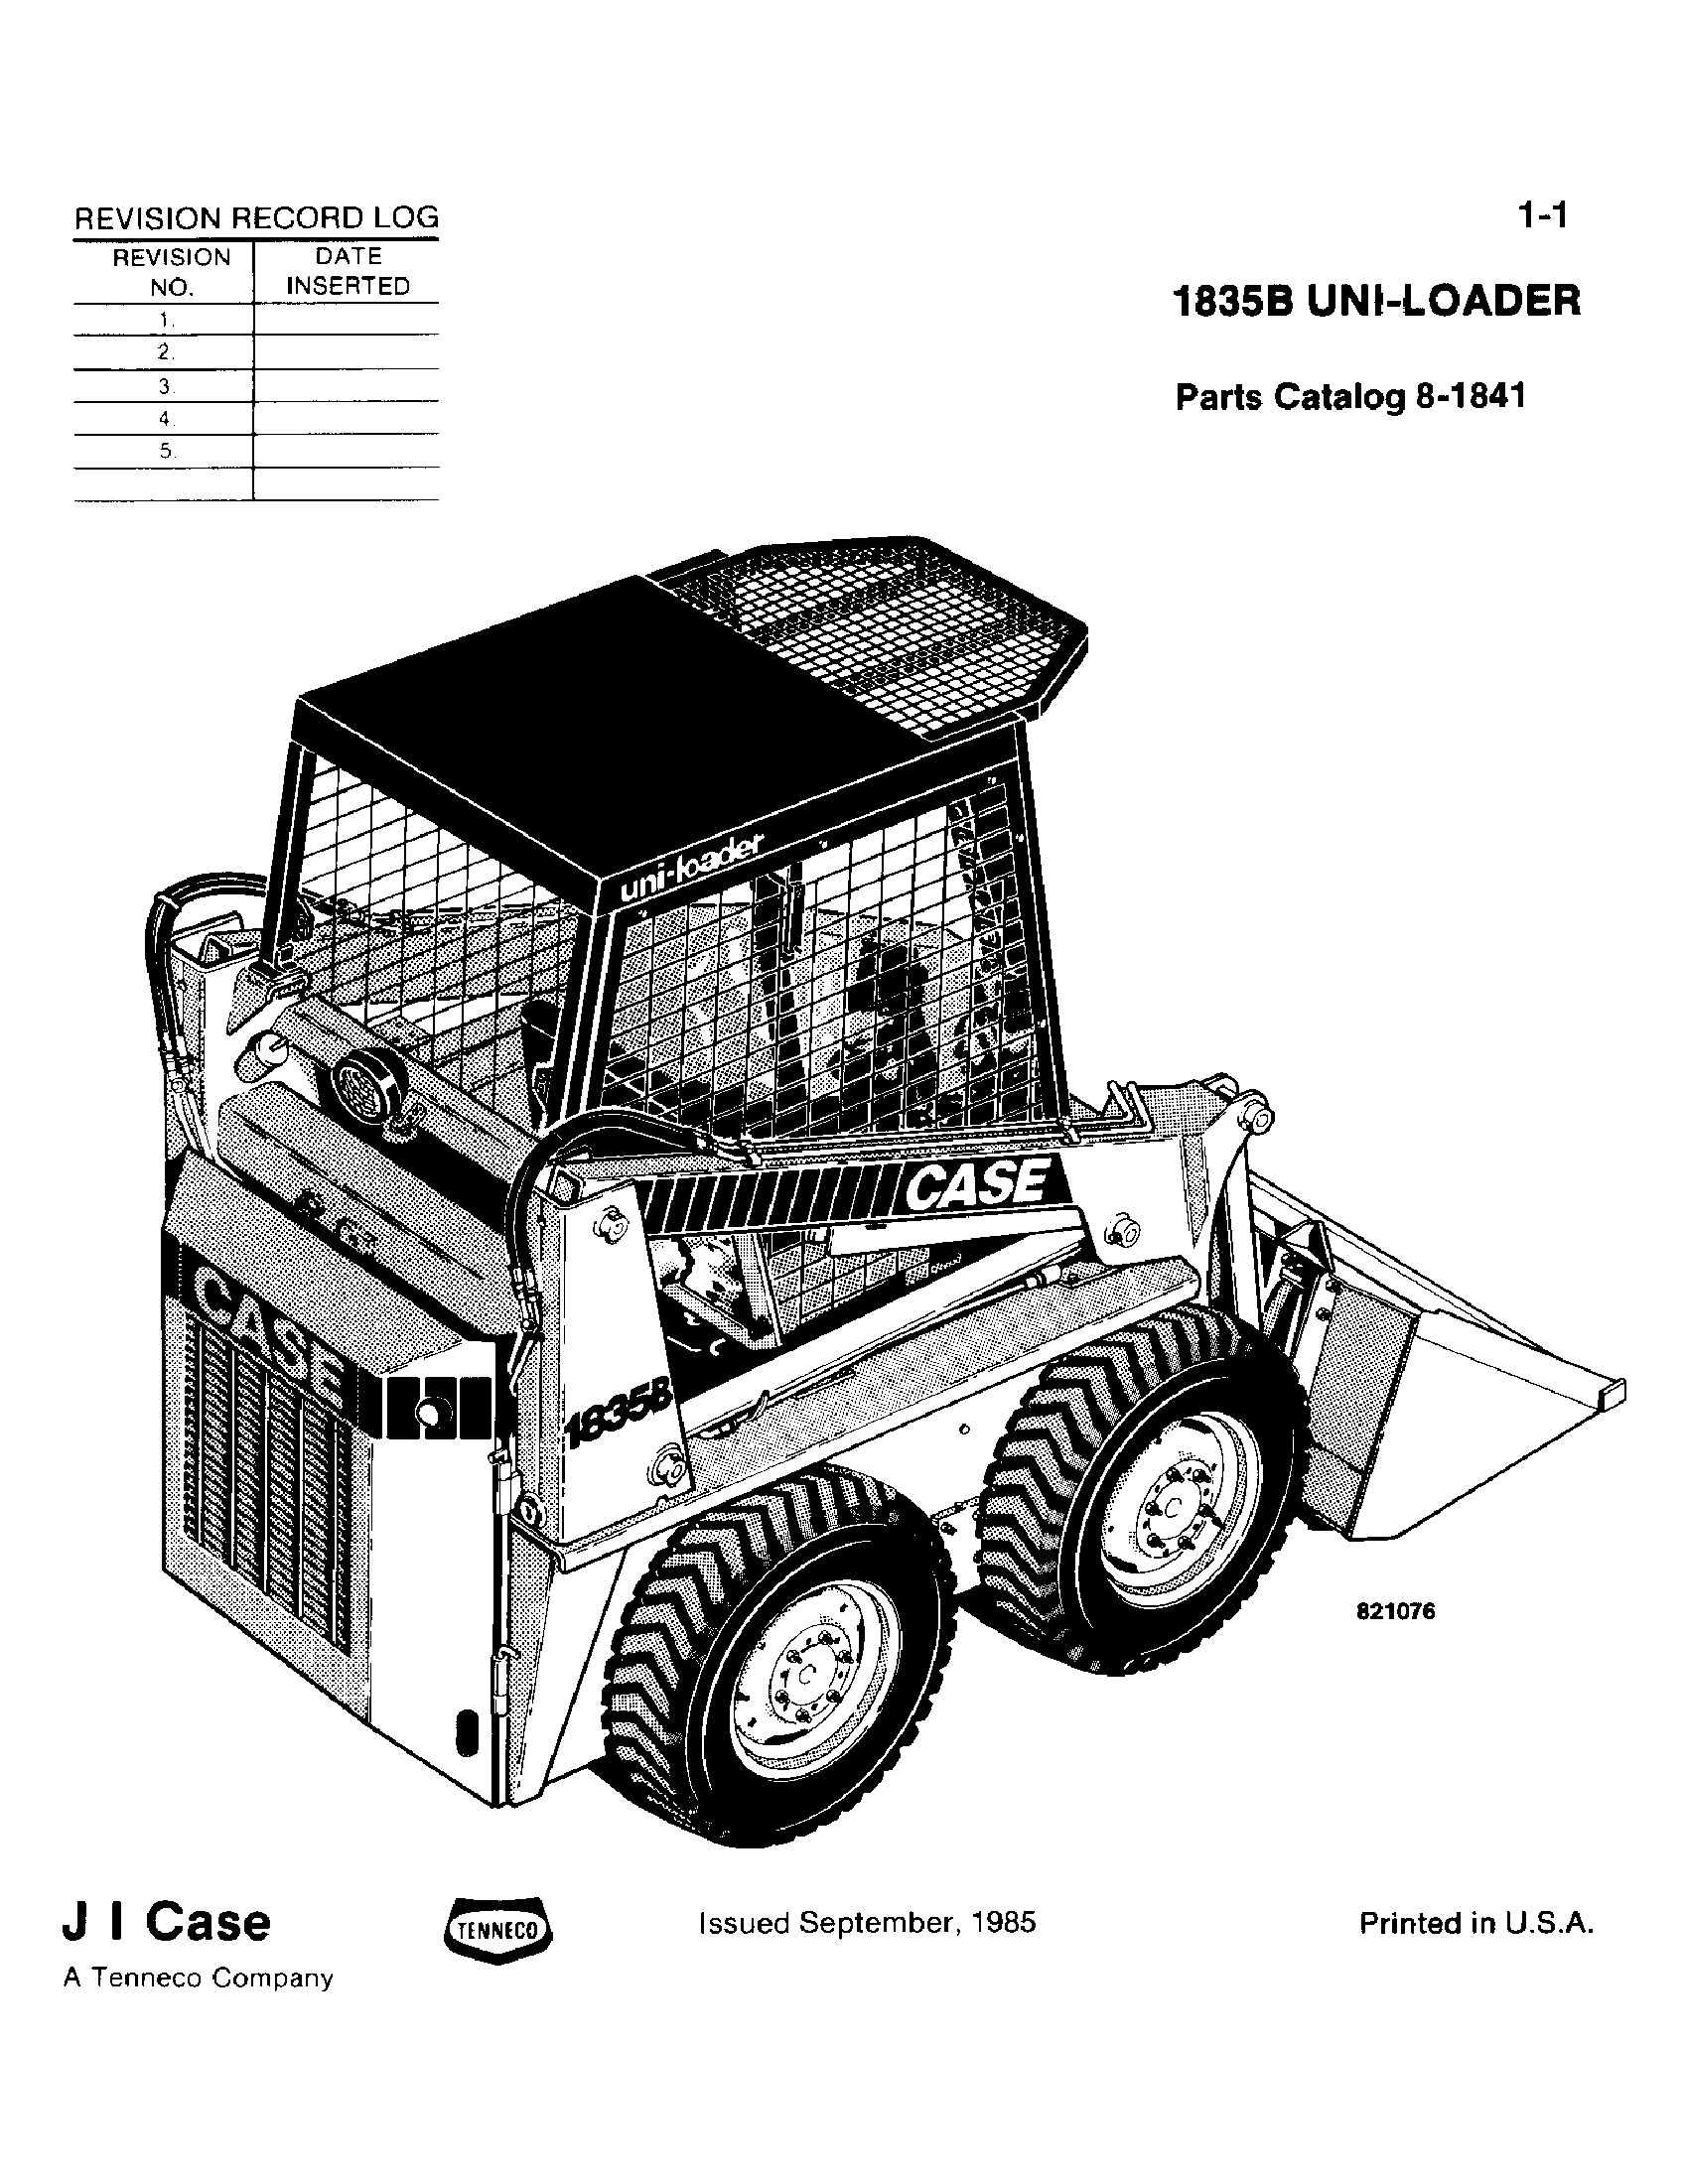
Thanks but not it. Here's an image of mine, (I need to clean it) and the tag says:
TRW Ross gear div
Code 114 84
Spec. MAE24053 A1

How big of a deal is this? Like if I get the thing off one tooth and it runs backwards, can I just put the hoses on backwards to make it go forward? If so then I can just put it together and reverse the hoses if it's going wrong direction, which will solve this for me, because the one hard line to the motor this unit had on this side was replaced with a hose.

For further learning, I have the below, but the above question is the primary one I need answered so I can move forward.
I read this: https://www.insanehydraulics.com/letstalk/gerotortip.html
And after reading that, I came to realize that in my motor and the one pictured in above link, there are 7 lobes and 7 valleys in the georotator,.
Also in my case there are 14 teeth on the shaft, and due to that, the 14 teeth align to either a lobe or a valley, alternating. In the link above, there are only 12 teeth, so it's not even distribution so a little more work has to be done to ensure correct alignment.

Basically since this motor has 7 lobes and 14 teeth, then whatever I choose as tooth 1 is arbitrary and if it's aligned with a lobe valley, then motor turns one way, if it's aligned with a lobe peak, motor turns other way.

Do I have all that correct?
 

Attachments

  • case1845motor.jpg
    case1845motor.jpg
    1.4 MB · Views: 8
Last edited:

KyferEz

Active Member
Joined
Jul 10, 2025
Messages
28
Location
USA South East
For the remaining seals, some of them have been harder to find than others. Over all a lot of work finding good parts. The case seal has been the most difficult and I don't need it but I found something I think can work. All parts except bearing found at herculesus dot com. And even though I have to buy more than I need of multiple of these seals, I'm still only totaling under $70 for all of them and am buying enough to do both motors; I'm assuming I'll have to do the other motor eventually.

There are a couple of orings I'm not worrying with, Part 24a in diagram. Those should be pretty standard and I expect I have them in the standard and metric variety pack kits I have if I need them.

Diagrams referenced:
and


NameMfg NumberAftermarket number(s)
Output Shaft Cover Bearing277062MR16 BR162416 IKO SJ7194 RBC HJ162416 NCS1616
Output Shaft SealN9703U12-1.25-25B If you have shaft wear at sealing point, maybe try stacking 2 U12-1.25-SQB as they are half the height and one would seal in different area
Output Shaft ShimN9516573-218
ID 1.250 X OD 1.500 X Tall 0.050
55D HYTREL material
Note mine was missing so this was approximated by measuring the remaining space between the seal and ring where the ring is part N6702 in diagram
Part 18 on diagram Seal RingN6709
39.47mm ID x 42.67mm OD x 1.65mm Thk or in inch is
1.55" ID x 1.68" OD x 0.065" Tall
580-029,SOR-75NBR-1.5x1/16-C/S(25),O-RINGS
1.5" ID x 1.675" OD x 0.66" Tall
BUNA-N RUBBER material
Case Seal rectangular OringN9509
Measured:
4.32" ID x 4.55" OD x .02" Tall
109.7mm ID x 115.6mm OD x 5mm Tall
580-346 is a 580 Square O-Ring with an ID 4.125 X OD 4.500 X 0.203" Tall
Note could not find exact match. This has ID too small, OD is close, but likely will be too thick once put on, however I'd hope the stretch thins it out enough. If not, then could try 580-345 which is ID 4.000" X OD 4.375" which will stretch more.
Case Seal backup ringN8747 teflon
Measured:
4.32" ID x 4.54" OD x 0.05" Tall
109.7mm ID x 115.3mm OD x 1.3mm Tall
MBU-110X2.5X1.3 Back-Up Ring
ID 110.00mm X OD 115.00mm X Height 1.30mm
95A DUROMETER
 
Last edited:

KyferEz

Active Member
Joined
Jul 10, 2025
Messages
28
Location
USA South East

KyferEz

Active Member
Joined
Jul 10, 2025
Messages
28
Location
USA South East
Well I got it all back together yesterday. No leaks so far but the real test will be when I staring really working it.

All the seals fit perfect except the case seal which was too thick. I could have rigged it up on the lathe and turned it down to correct thickness, but I inspected the original and it was in great shape so just reused it instead since I was in a time crunch to get it fixed so I could move it cause I needed to get my side by sides out of the shop to go have fun.

I didn't mention it before but the output shaft was a bit chowedered up by a failed bearing in the cap. I welded it up and chucked it in my bench-top lathe and turned it down. Installed a new bearing on the cap. Fit perfect and runs nice and smooth :D The failed bearing would not come out using a slide hammer puller. I had to cut out the cage, cut the outer retainer ring, and use the dremel cutting disc to grind away the side wall of the bearing till it was weakened enough the slide hammer could make progress. After that the rest was easy. Didn't have a new outer retainer ring, but I am sure it will be fine without it, the bearing pressed in hard enough I'm not worried about it moving.

I also needed a bushing for the shock absorber that mounts to the controls for the drive motor. Had a chunk of rubber, cut a sorta round bit out of it on my mini band saw, and lathed out a nice new replacement. In the pic is the rubber chunk, what's left from what I cut out, and the part I made.

I have to say I'm a fortunate man, my wife is amazing. She encouraged me to go ahead and buy the lathe when I was fretting over the expense and whether or not I really needed it. It's been a great tool to have!

Pics!
 

Attachments

  • 1000006297-2.jpg
    1000006297-2.jpg
    328.8 KB · Views: 7
  • 1000006295-2.jpg
    1000006295-2.jpg
    101.3 KB · Views: 8
  • 1000006298-2.jpg
    1000006298-2.jpg
    897.8 KB · Views: 8
  • 1000006299-2.jpg
    1000006299-2.jpg
    202 KB · Views: 7

KyferEz

Active Member
Joined
Jul 10, 2025
Messages
28
Location
USA South East
Good news I've worked it about 4hrs total and no leaks!

It still however occasionally does the no drive thing... And fluid level is about 1/4 up the sight glass. Seems to only do this when it's good and hot after over 2hrs of constant work. Thoughts?
 

KyferEz

Active Member
Joined
Jul 10, 2025
Messages
28
Location
USA South East
Crap I take it back, there are two more leaks... The sight glass was misleading as it is showing up to 1/4 on the glass when it's well below that cause fluid is getting caught in the edge of the glass :/

At least the motor shaft I resealed isn't leaking!

One leak is a hose going to that same motor, at the connection, which is tight so it must either have some dirt or damage, dunno, I cleaned it before putting it on so I'm guessing probably damaged.

The other leak appears to be the other motor :( either the back seal of the case or perhaps one of the seals for the cap in this pic. Guess I'm pulling that motor too and getting another new hose.

1757112051548.jpeg
 

KyferEz

Active Member
Joined
Jul 10, 2025
Messages
28
Location
USA South East
One leak was just damaged fitting on a hose, easy fix. The other motor feels like the gasket is partly blown out the back of it. But it's not a major leak so for now going to let it be so I can get some other projects done. Thanks everyone who helped!
 
Top